| |
Field Day Logging


On Field Day, the W4ZBB crew uses K1EA's CT logging system. This is because it provides special
enhanced mode features that make it a snap to submit the logs to the ARRL after Field Day. The
main reason to use logging software (and thus the reason for dealing with laptops and cords and
batteries, etc) is that it makes dupe checking a snap. Since we run 2 HF stations (2A), we can dedicate
one station to CW/Digital Modes and the other to SSB (phone). Doing it this way allows us to run
with having to network the stations and then having to pay attention to who is on what band in what
mode at what time. It's easier all around to have dedicated stations.
Quick Glance at the CT Screen:
WinCT is fairly easy to install. If you are planning on providing a laptop for field day logging use,
please install CT on it ahead of time. We currently use CT Win version 10.03.002. If you wish, I am available
to install this for you, just please bring me the laptop BEFORE field day.
Referring to the screen cap below, you can get an idea of the layout of the program
Just double click on the CT icon on the desktop. The CT program will start and immediately ask for a file name. Figure 1
is a screen shot of this screen.
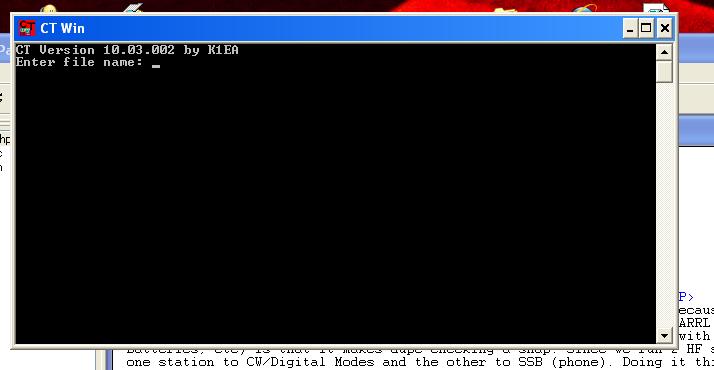
Figure 1
For this year (2007), just type fd2007 and hit ENTER. This brings up the information screen next as shown in
Figure 2 below.
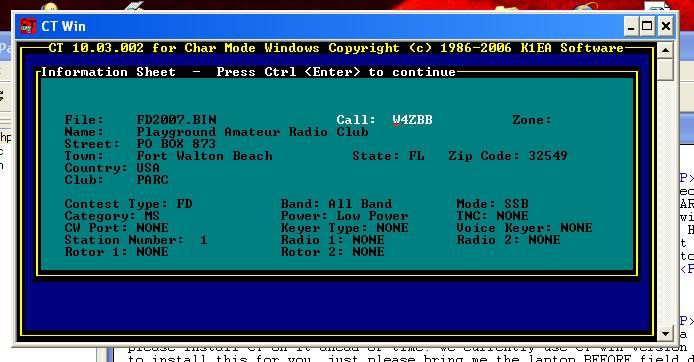
Figure 2
The screen should now look like Figure 2, if it has been filled out already, it not, make it so. Hit CTRL-ENTER to move to
the next screen.
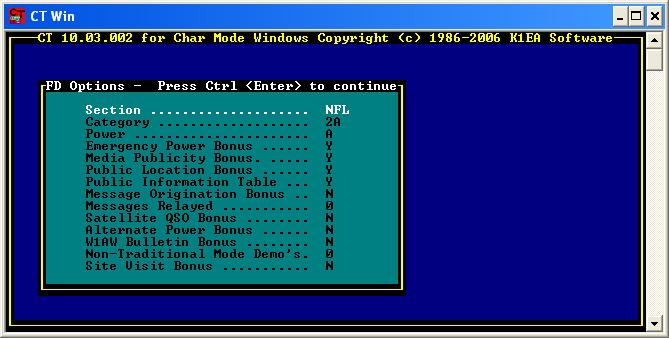
Figure 3
This one should also already configured as shown in Figure 3, if it hasn't the previous screen would have asked these
questions (and a whole lot more). Again, hit CTRL-ENTER to move on to the next screen.
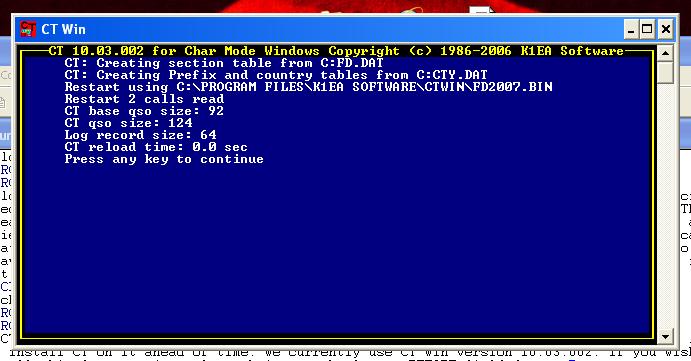
Figure 4
At this screen (Figure 4), just press ENTER to accept and move to the last screen.
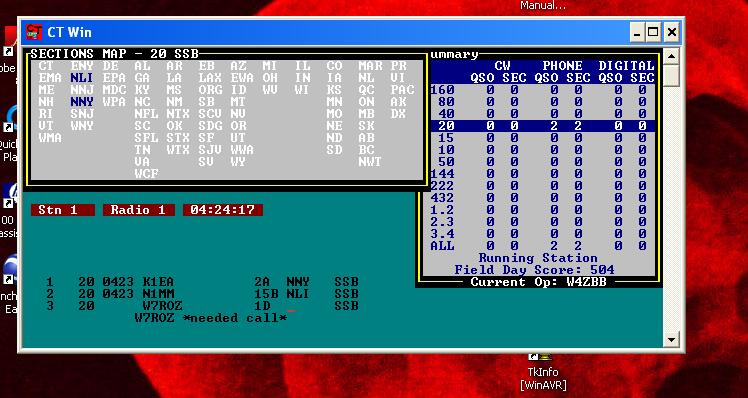
Figure 5
Finally, we are at the logging screen. I've entered a couple of bogus log entries to help explain the fields and windows.
Figure 6 is an annotated version of Figure 5, created to help understand where entries go.
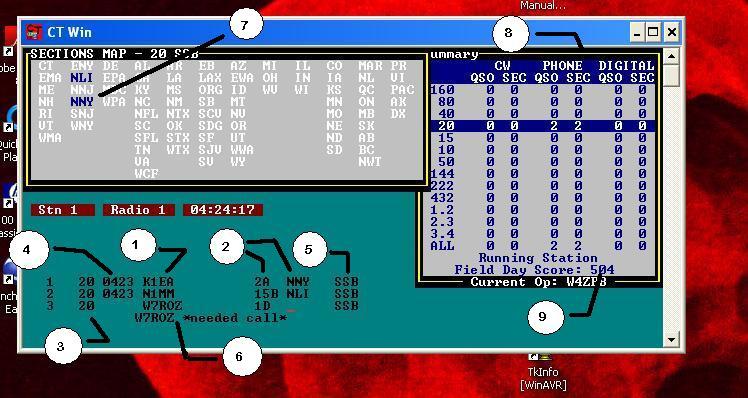
Figure 6
Annotations:
- (1) Callsign: this is where the other stations call is entered. Do this while contacting the station. Once entered,
hit TAB to skip to the next field
- (2) Exchange: This is the operating class and ARRL section as received in the exchange. Enter the class entry first, \
hit TAB to skip to the section, then enter that. Once complete, hit ENTER to store the QSO. If you need to change something
ebfore you hit ENTER, you can use TAB to cycle back around to the desired field and correct your entry. Hitting ENTER
at any time on this line will accept the QSO data and add it to the log.
- (3) BAND: This entry us controlled by where the blue highlighted line is resting in the summary box (8). You cant change this
by typin on it, so when changing bands on the radio, please ensure that you use the ALT-F1 and ALT-F2 to change the highlighted band.
- (4) Time: This entry is automatically added by the program once the ENTER button has been pressed to accept the QSO Data. Notice
that in the example screen, there are 2 completed QSO's (K1EAZ and N1MM)with the time of day and one current QSO that has not been
completed (W7ROZ).
- (5) Mode: This entry is automatically set by the program depending on the settings entered during the configuration process. Since
we tend to run separate single mode stations, this value should not change for a given copy of CT.
- (6) Needed Call: This line is shown when the call entered on the current QSO line has not been worked before.
- (7) Section Map: Sections that have been completed are shown in blue, while non-completed sections are shown in
White. Please note that the map is organized by call area with 1 to the left and going through 0, then canadian sections, followed by
miscellaneous sections. The program automatically updates this map based on the QSO's entered.
- (8) Summary box: This box contains a summary of this stations progress. It shows the total QSO's and sections
completed for each mode, sorted by band.
- (9) Score: This is a running score shown at the bottom of the box. This score includes
multipliers and extra points as configured on the FD info screen (see Figure 3 above).
CT Resources:
This should pretty well cover it. Any questions, email me!...~Steve>
|